


Cleaning & Disinfection, Knowledge Base
The Stages of Effective Cleanroom Surface Cleaning
Nov
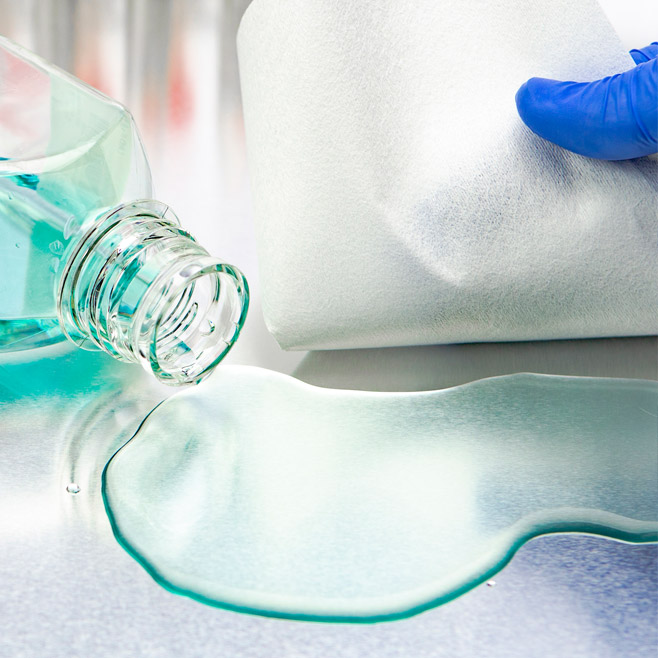
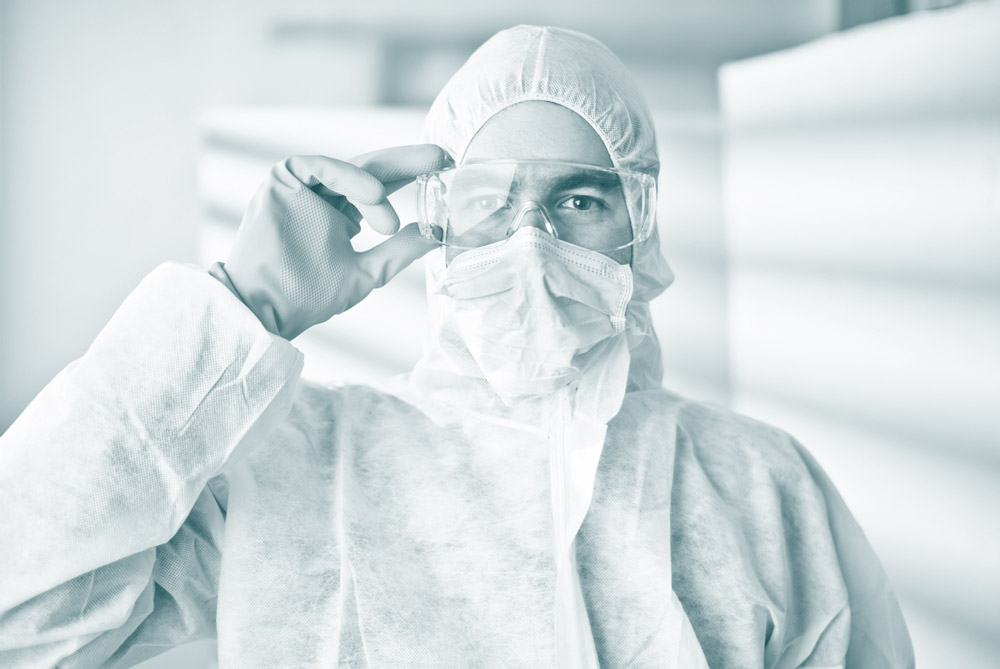
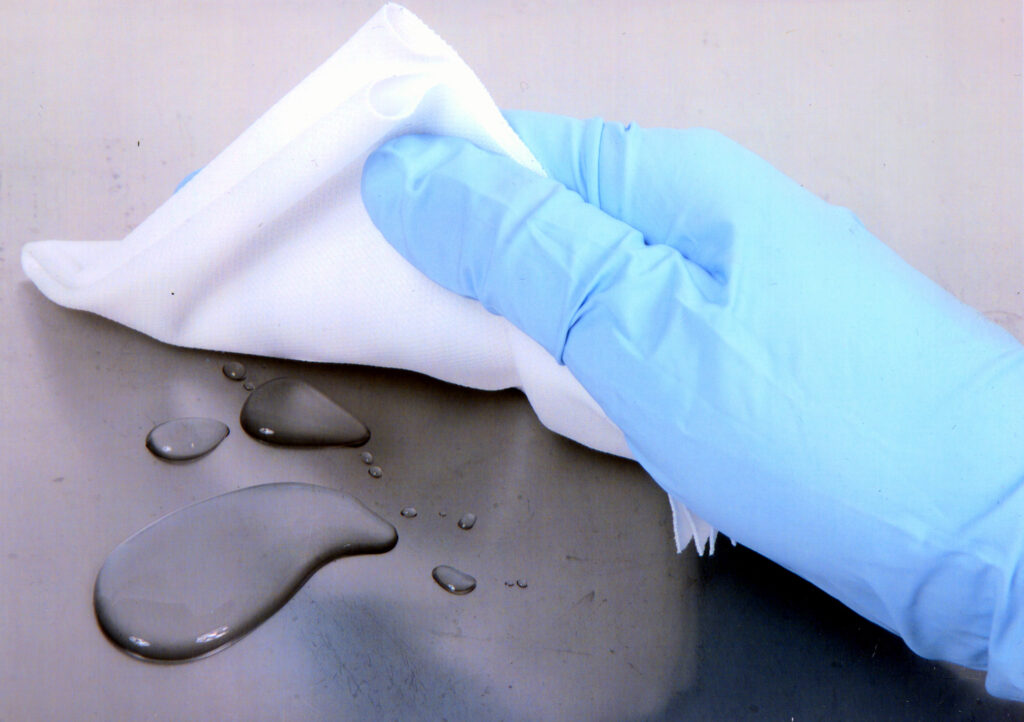
Everyday surface cleaning is critical in various environments such as cleanrooms, pharmacies, hospitals, long-term care facilities, and veterinary clinics to prevent the spread of contamination. Each of the six cleaning stages helps an operator focus on a critical aspect of effective surface cleaning, from preparing the surface for thorough cleaning by removing debris to destroying microorganisms to removing any chemical residue so the surface is adequately disinfected and ready for use. Operators should always work from the cleanest area towards the dirtiest area (to minimize further contamination of the more hygienic regions), from top to bottom, rather than going between different areas and covering all areas with a proper overlapping wiping technique and an ‘S-shaped pattern for mopping being careful to not go over the same area twice.
The six stages for proper surface cleaning are:
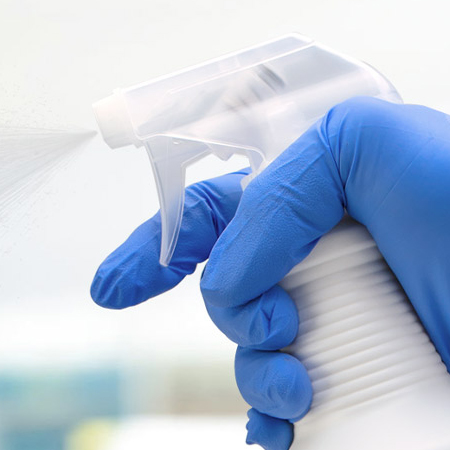
- Pre-Clean
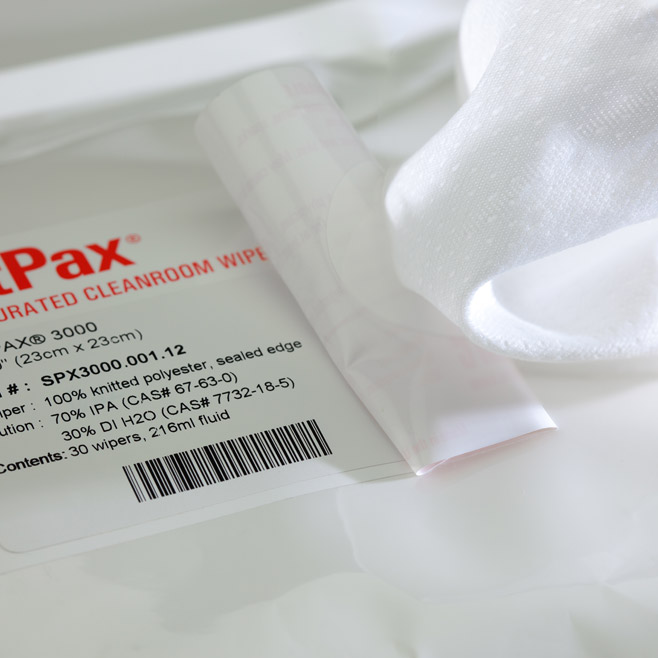
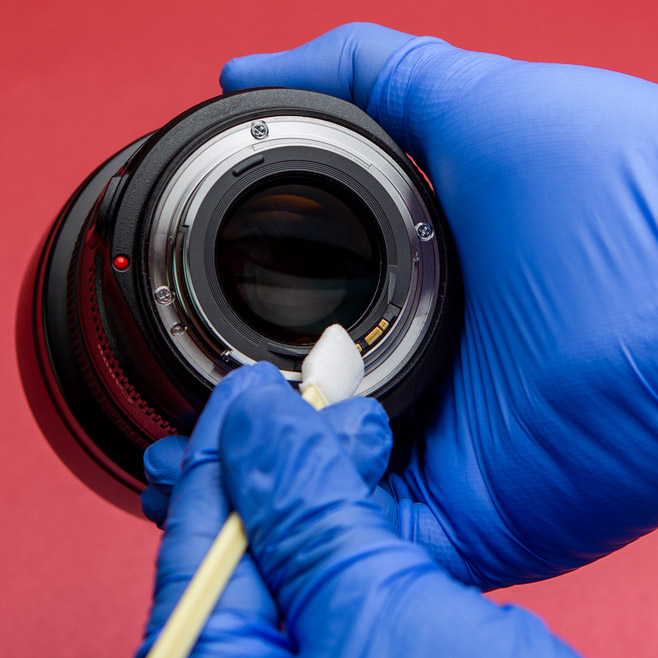
To begin cleaning a contaminated surface, removing any loose debris or substances is essential. This task can be done by spot wiping with a disposable wipe (dry or pre-saturated), spraying, or rinsing with water (DI, WFI). The goal is to eliminate as much loose debris as possible and to prepare the area for the next cleaning stage properly.
- Main Clean
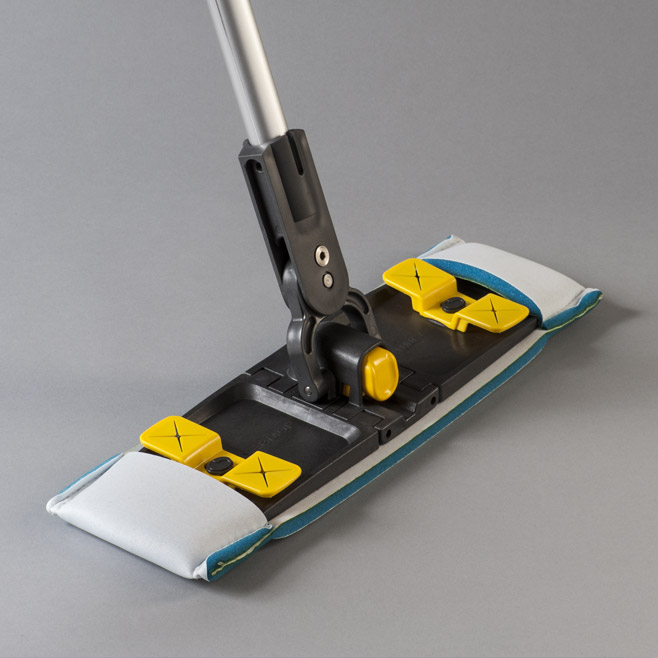
After finishing the pre-cleaning stage, the next step is to eliminate any remaining substances, dirt, and debris. You must use a detergent and water (DI, WFI) to achieve this. Once the substances are loosened, you can wipe them away with a cloth or mop. Alternatively, you may need to wait a specific time before wiping them away. Follow the manufacturer’s recommendations.
- Rinse
After loosening all substances, dirt, and debris with detergent in the second cleaning stage, the third stage involves removing them completely. To achieve this, use clean water (DI, WFI) with a dry cloth or mop. Presaturated IPA wipes or sprays with a dry cloth can be used if there is concern about water residue or drying times.
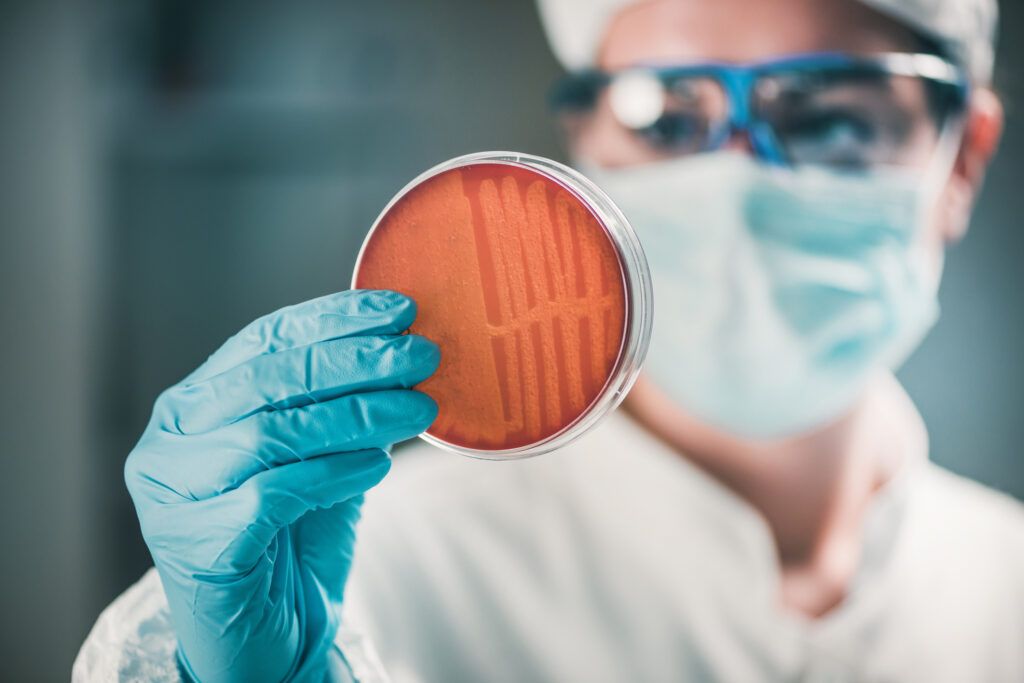
- Disinfection
After completing the previous cleaning stages, the fourth step is to disinfect the surface properly. This process is designed to eliminate bacteria (gram- and gram+), viruses, spores, and other microorganisms by applying heat or a chemical disinfectant for a sufficient amount of time. It is essential to understand what microbiological contamination is being treated, and it is important to carefully follow the instructions for any products or equipment used during this stage.
- Final Rinse
The fifth step in the cleaning process involves using clean water (DI, WFI), presaturated IPA wipes, or sprays with a dry cloth to remove any disinfectants used in the previous stage. However, this step may only sometimes be necessary, depending on the disinfectant and surface being cleaned. As mentioned during the last step, following the manufacturer’s instructions and seeking additional guidance is essential.
- Drying
The last step is to dry the surface to complete the cleaning process. It’s best to let it air dry if possible. If you need to use drying cloths, ensure they’re only used once, especially when there is a contamination concern. Do not reuse cloths, which could lead to bacterial growth and cross-contamination. At this point, the surface should be thoroughly cleaned, and most, if not all, microorganisms will have been eliminated, depending on the cleaning substances you used.

HAVE AN IDEA FOR CONTENT?
We are always looking for ideas and topics to write about.
Contact Us